
One of the most magical aspects of Japan is the beautiful blend of sights, sounds, culture, scenery, terrain and people. There are just endless discoveries and things to see, and it is very easy to get wrapped in just touring the big cities, visiting castles, temples and shines. As someone who has lived in Japan and visited several times, my sightseeing preferences have changes from wanting to see things to wanting to DO things. I have discovered being able to do things escalates you from merely a sightseeing tourist to truly immersing yourself in culture.
I had mentioned to a fellow travel adventurer that I was coming back to Japan, and as amazing all the big sights in Japan are, I was burnt out on the usual tourist cities of Tokyo/Osaka/Kyoto and I wanted to see another side of Japan. He recommended cycling the Shimanami Kaido, and it was truly everything I could have hoped for out of this trip and one of my absolute favorite experiences I have had in Japan.
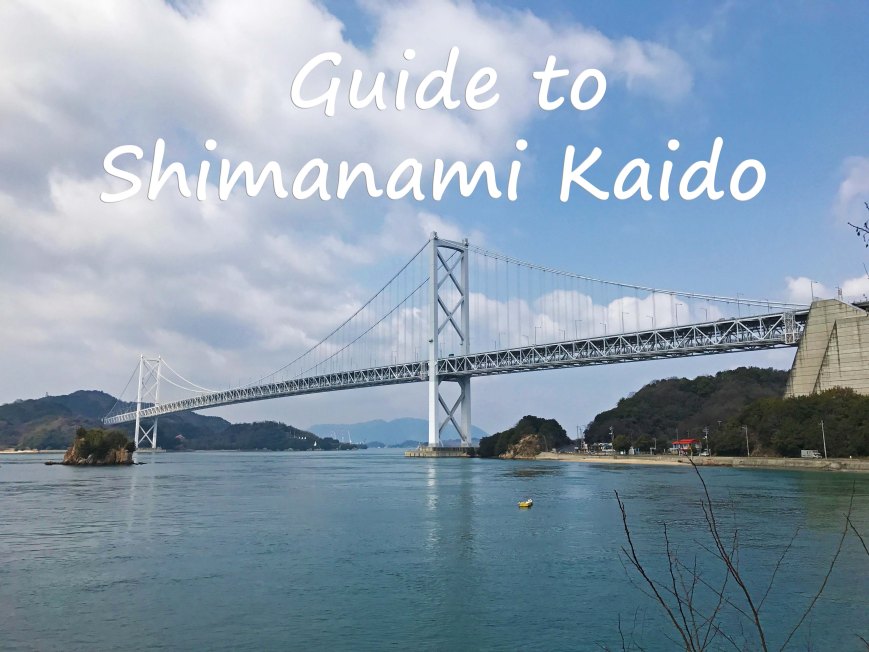
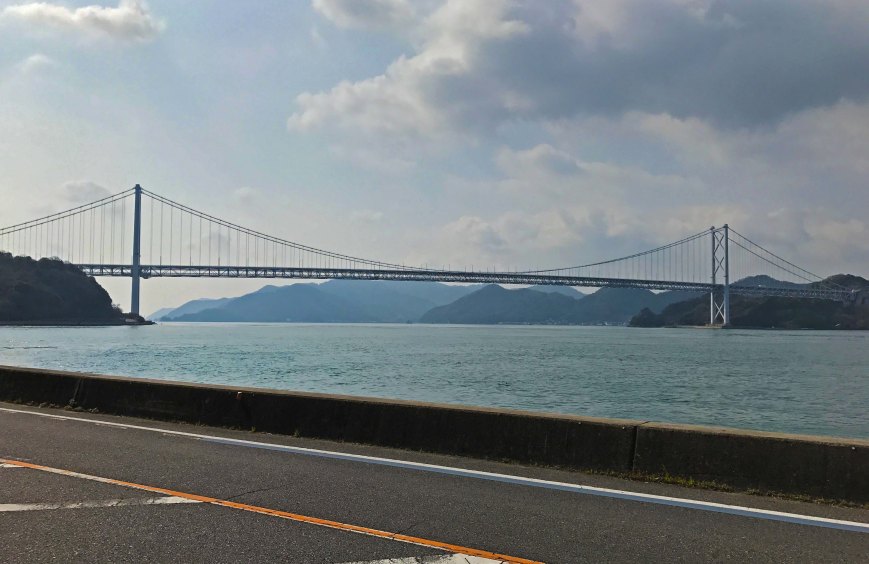
The Shimanami Kaido is 70 kilometer long cycling route that spans across several beautiful, small islands connecting the main island to Shikoku . It crosses over many magnificent suspension bridges, one of them being longest suspension bridge in the world and the route’s pièce de résistance. It’s a beautiful route and offers stunning views of the Seto Inland sea and Japanese countryside.
We did the classic route of starting on the Onomichi side and ending in Imabari. The route is beautiful whichever way you go, but the last bridge offers you a fantastic reward and gives you closure on the long trip. The path has very low vehicle traffic, and often diverges to a separate cycle road for higher traffic areas, allowing for freedom to stop for photo opportunities, explore seaside cliffs, little secluded beaches, old lighthouses and some of the most beautiful shrines. We planned a two day trip allowing us ample time to make frequent stops, and stay at a small, seaside ryokan which I would highly recommend, although experienced cyclists may easily do this in one day.
If you want to experience something outside the big cities, to the slower, quiet country side where people actually wave to you, or enjoy some of the most amazing, fresh seafood, and soak in an onsen with a seaside sunset, or looking for an amazing, yet different way to experience Japan, this is trip for you!
Starting Point: Onomichi
Actually, we started in Hiroshima where we had our hotel ship our luggage to our end point hotel in Matsuyama. We stuffed all that we would need for a night stay in our day backpacks, and shipped our big bags via Takuhaibin Delivery Service. It was about ~1500-2000yen for next day shipping and paid cash only. Make sure to have all your next hotel destination ready, as our hotel called to contact and confirm to make sure the luggage would arrive safely. We then took a quick morning Shinkansen ride to Shin-Onomichi station, and took a taxi to to the bike rental station near Onomochi station and Onomichi Port.
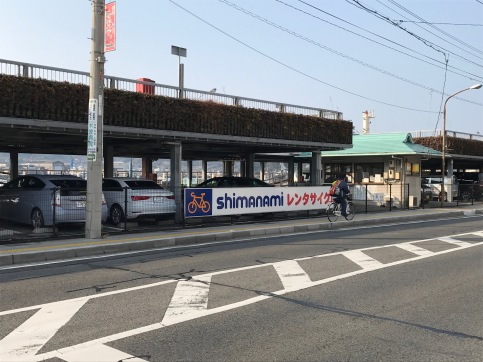
We had reserved bikes in advanced since we had booked an overnight ryokan stay and we were visiting peak hanami season and didn’t want to take any chances, although I noticed there were plenty of bikes when we arrived in the morning.
The cost is 1000yen/day plus extra 1000yen deposit/fee for dropping it off in a different location – total 3000yen for our 2 days (cash only). The workers speak very little English, but our communication was just enough with my awful Japanese and his English. The forms are fairly straight forward where you write your name, contact information and waiver.


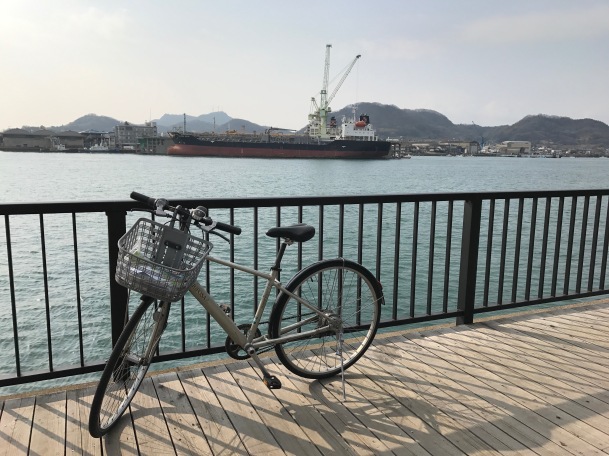
You will get to pick out your bike and BE SURE TO TEST IT OUT BEFOREHAND…Unless you want to experience a broken gear bike after the first island, struggle asking locals for directions to a bike port in Japanese, and trying to make a phone call in broken Japanese explaining where you are and you have a broken bike. So yeah, test out your bike. They will write down your bike number and will show you how to lock your bike, and then off you go! If you want to pick up any food snacks for the long journey ahead (highly recommended!) there is a Lawson across the street with an ATM.
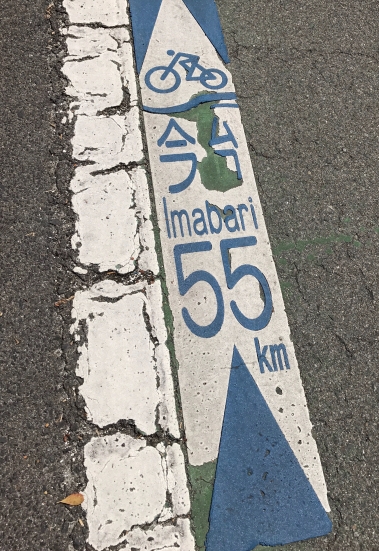
From here, you can explore Onomichi if you have time…there are many shrines, temples and famous ramen to explore. However, we had to be in Omishima by the evening and were short on time. To get to the first island, follow the signs to Onomichi Port where you will take a short ferry to Mukaishima Island. The fee is 110yen for you and your bike and have the coins ready when you about to depart.


From here you want to follow the blue lines, which are clearly marked on the road.
You will take a little bike ride through town which wrap on the west coast the island, where you will be greeted by the first magnificent bridge.
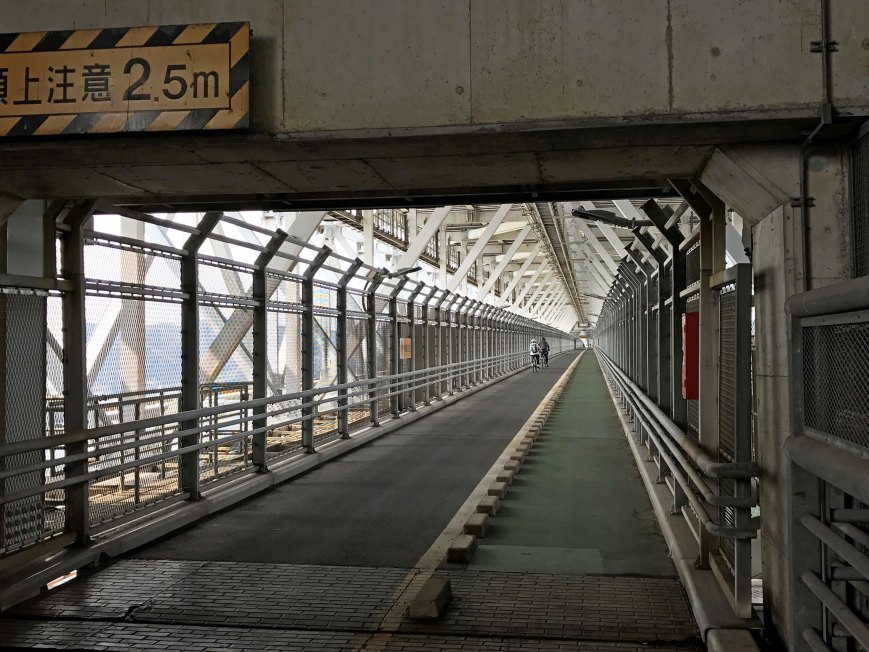
You want to go under the bridge to make your climb up to cross it. There are very safe, fenced-off, bike-only paths that you take to cross the bridge, then enjoy the downhill joy ride on the other side.
Island 1: Innoshima
Here, we come to our first main island: Innoshima. Unlike Mukaishima which doesn’t really have too much to offer other than a gateway to Shimanami, Innoshima has a beautiful coastal path free from industrial obstruction and a few good stops.
Coming off the bridge, we took the path that hugs the west coast of the island. You will pass a little seaside park with a dinosaur statue overlooking the ocean – a nice little photo op – then will head towards the Innoshima Flower Center.
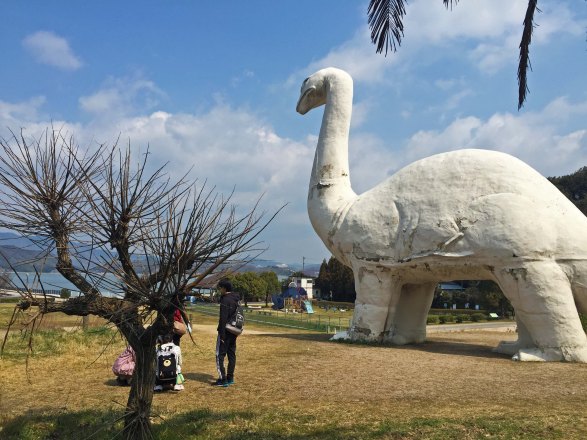
Unfortunately at this point, my bike had broken down so weren’t able to stop here and had to find the closest bike center, but this is probably a great stop. There is also a Suigan Castle which we weren’t able to visit since it appeared to be on top of the mountain and we were strapped for time with a broken bike. My fellow group members also took one look at the incline up to the castle and instantly declined. If you follow the path you will zip through some small port side towns before you get to the next bridge.

Island 2: Ikuchijima
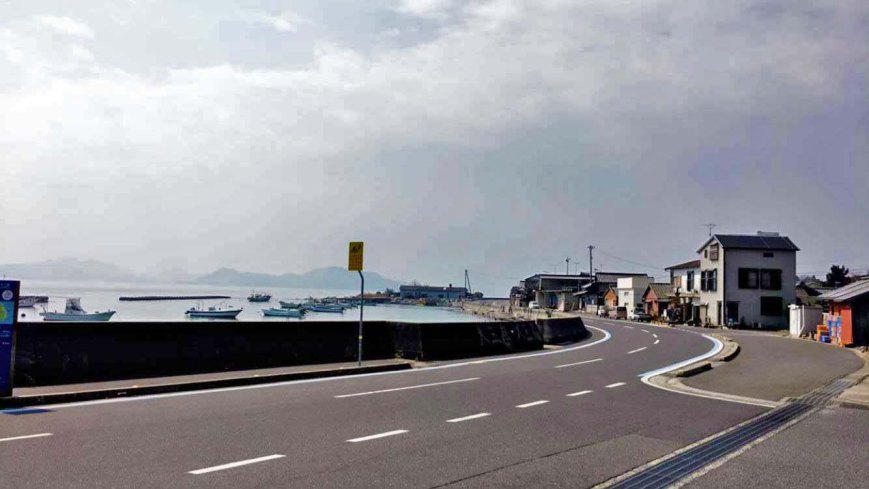
This is one of my favorite islands with a beautiful coast and passing through many towns. You will get a chance to see the slower paced small town life and enjoy the famous citrus, as well as a very flat road (praise baby Jesus). There are some stops along the way to buy mikan (mandarins) and lemon ice cream and cakes. Your must-stop on this island will be Kosanji Temple.
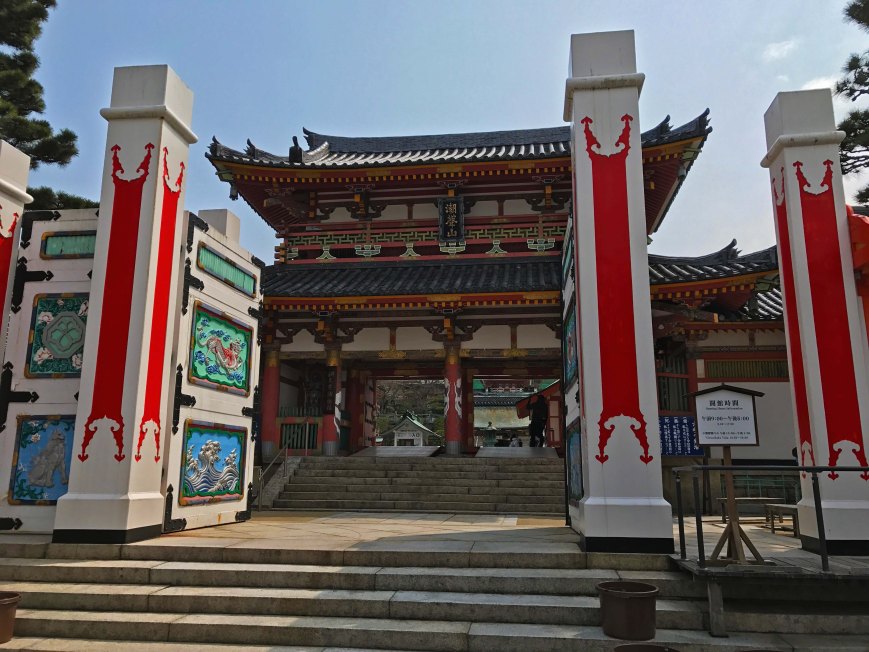
The entrance fee is a bit steep for a temple (1200yen), but it is well worth it, and one of my favorite temples I have visited. The two astounding highlights are the Indiana Jones-esque 1000 Buddha cave and the heavenly, white marbled Tower of Light on top.


The Kosanji Temple is a MUST see, but if you are good in time, be sure to stop by the Hozan-ji Temple. We had already spent a good 1-1.5 hour at Kosanji, and I was thoroughly disappointed we did not have time to stop by Hozan-ji across the way (also due to party members not wanting to scale more inclines). Kojo-ji Temple is also across the way that I had bookmarked, but did not have a chance to go. It just means there will have to be a next time!
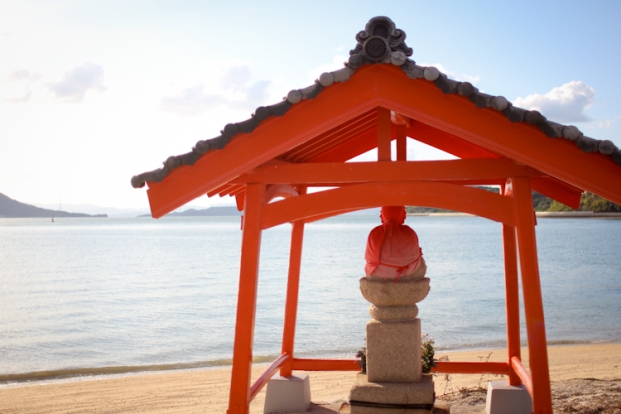
From here, keep hugging the coast and head towards Sunset Beach. You will pass a little seaside shrine with Jizo overlooking the ocean.
When you arrive at Sunset Beach, you you will be greeted with a fantastic rest stop. Enjoy the beach and the wide array of citrus things to eat and drink before you ascend up to the next bridge.
Island 3: Omishima
Since this was our overnight stopping point, we veered off the main route to cut through the island to arrive at Omishima town. The short cut through the island instead of around along the coast line has a huge incline up, but you are greatly rewarded with an awesome downhill path zipping through a forested bike path. We cut through more countryside and with a sigh of relief, we arrived right at the end of twilight to Omishima town.
Here, we had a wonderful stay Ryokan Sawaki. Although most of the staff speaks Japanese, they had a young man speak very good English whom we communicated most with. The ryokan was very clean and the staff was incredibly courteous. The price seems a bit much, but including dinner and breakfast, onsen access and en route location, I thought it was well worth it. After we settled into our Japanese styled room and had some complimentary tea and cookies, we dressed down to enjoy the onsen. We arrived right at sunset and enjoyed the sea view while soaking our utterly sore legs in the outdoor onsen.
I was slightly nervous since I have a tattoo and I am usually careful about choosing onsens that have a lax tattoo policy. Although a local onsen, no one commented on my tattoo as I tried to be as conspicuous as I could (I have 2…a larger one on my lower back and small one on my rib cage).
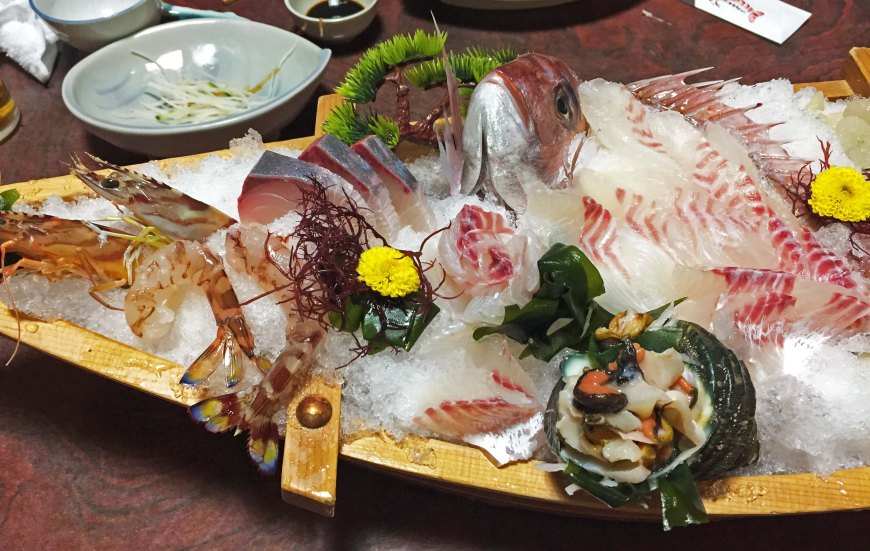
After a relaxing hour at the onsen, we were served dinner in a separate room. I booked the deluxe meal since I thought we might need the fuel to recover and for the next day. It was a LOT of food. I think we were served about 4-5 meals in one. Naturally being on an island, Omishima and the Seto Islands are famous for fresh seafood. And yes, it is very fresh. So fresh, that when the sashimi is served it is still moving. It took about 15 minutes for the decapitated shrimp head to stop moving before I felt okay eating its severed body….


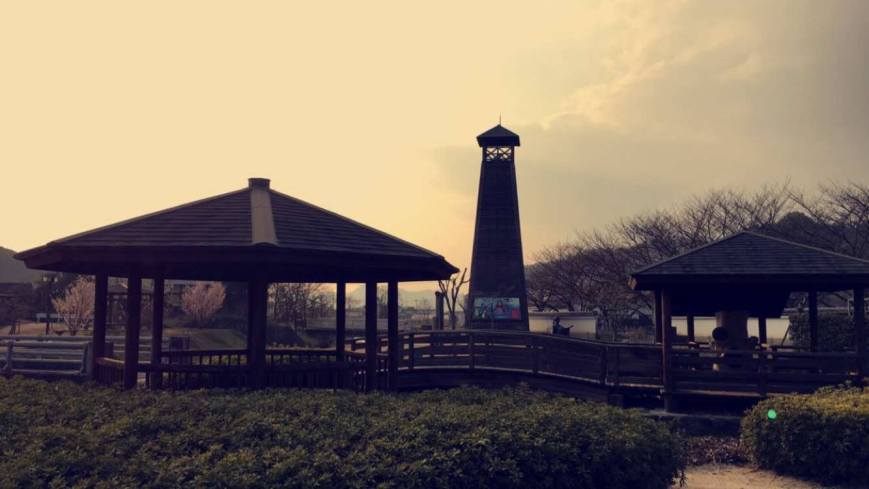
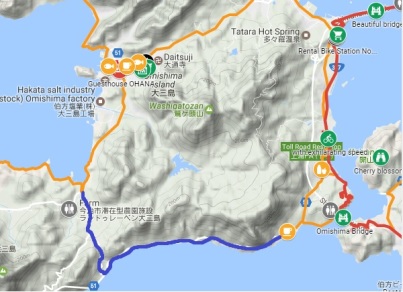
The next day, our itinerary had us arrive around 3:00PM to catch a train from Imabari to Matsuyama. If you have time, be sure to make a stop at Oyamazumi Shrine. We opted to skip this to save on time. The path along the Omishima coast was slightly more hilly since we had veered off the main course to get to the town, and were now on the more “advanced” path. We headed towards the southern part and instead of going around the western tip, we cut through to save on time (marked by the blue on the map).
The shortcut goes through small villages along the countryside, which was equally enjoyable as the coastal path.


![IMG_8870[1106]](https://eyesing.files.wordpress.com/2017/05/img_88701106.jpg?w=475&resize=475%2C500&h=500#038;h=500 "IMG_8870[1106]")
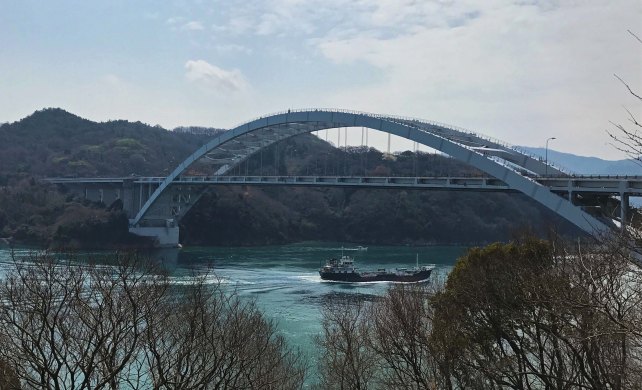
After a bit of sweat and tears from the multiple hills, we arrived at Omishima bridge.
Island 4 & 5: Hakatajima and Oshima
If you look at the Shimanami map, you will notice you will not be spending much time on Hakata, especially if you are on the main route. Towns and more coastal scenery will zoom by until you arrive at the next bridge to cross to Oshima. This bridge has a lovely viewpoint midway you can look out from.
On Oshima, you will crossing through the island and across a few cities and towns rather than the usual coast path if you do the recommended route. Since it is through the mountains, there’s a bit more inclines to overcome than the usual flat coast. A map in the middle of town shows the sights and suggested stops to make, although most of them veer off the main route.
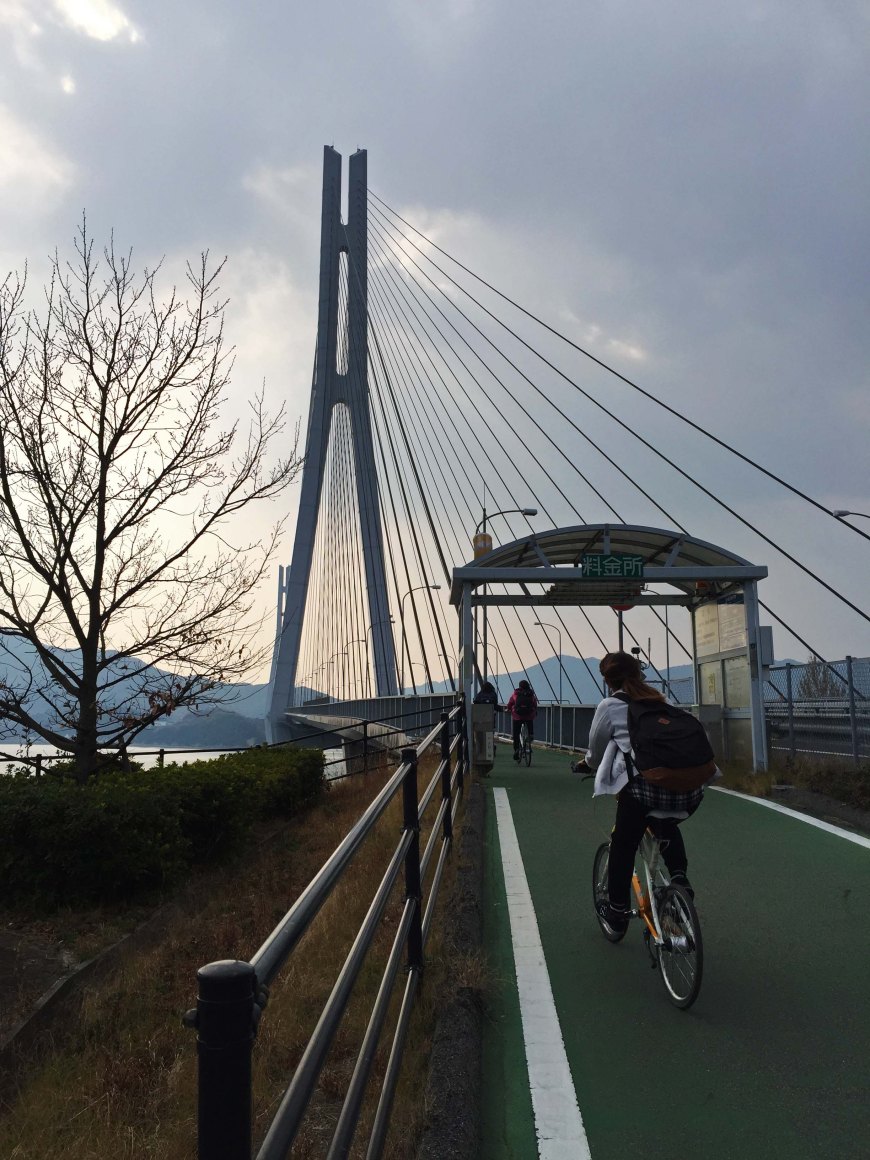
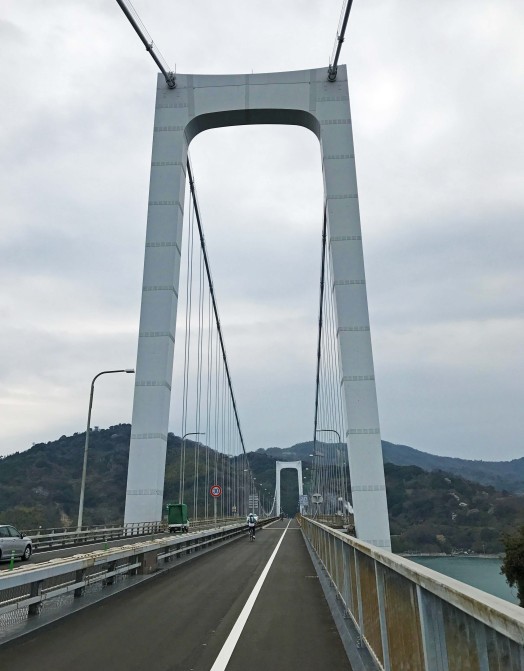
We kept chugging along, legs and butts sore and tight on time. We powered through Oshima to get to the grand finale: Kurushima Bridge!
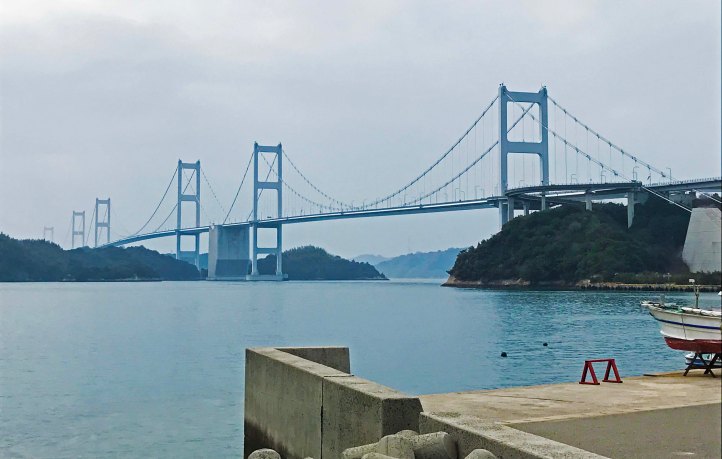
The longest suspension bridge in the world definitely did not disappoint. Going up the loopy ramp was not too bad, especially when you have the top and the fun downhill ride to look forward to. There is a midway point to take pictures that is not to be missed! You have to be careful on this bridge since the bike traffic is higher and it is shared with pedestrian traffic.
Endpoint: Imabari
After the downhill ramp….we made it to Imabari!! However, the end was not quite over. From here, you can take a ferry back to Onomichi if you are not staying in Shikoku. We had our bike drop off at the JR Imabari station instead so we could take a train to Matsuyama. If you are doing the same, keep following the blue lines and signs towards Imabari JR station.
We dropped off the bikes at the bike center just adjacent to the JR station. We loaded up on the bakery there – it is a larger station with a few restaurants and shops – before hopping on our train to Matsuyama. We sank into our comfy train seats with a sigh of exhaustion, relief, gratification and accomplishment. I couldn’t have asked for a better experience.
Shimanami Kaido was the highlight of our trip, and my favorite experience in Japan thus far. It was long, hard but so rewarding. I hope this encourages you to do something a little bit different when you’re in Japan. If you are planning to cycle Shimanami Kaido, I hope this helps you plan your amazing experience. Ganbatte!!
Tips
- I do NOT recommend biking alone in case something happens (injury, getting lost, etc). Although most roads are fairly high traffic, it may be difficult if you do not have phone service and speak Japanese
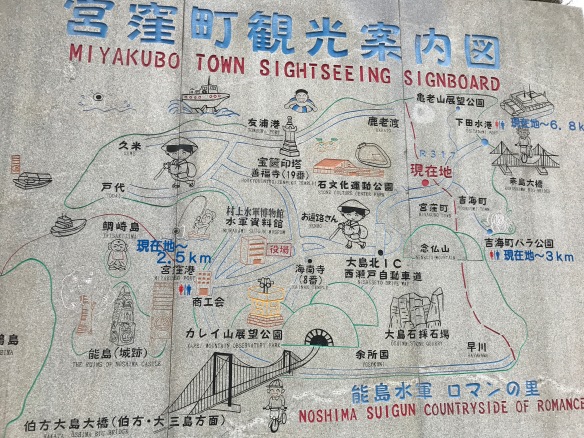
- Take a map with you!! Make sure you know which path you want to take (we did the recommended route). Although the roads are marked well, sometimes it can be vague which bike path to stay on. With the help of google maps and the Shimanami map, we could easily navigate.
- Know how to bike….which seems obvious, but definitely know how to use gears and how to climb hills on your bike. There are many, many hills to climb although most of them are not terribly steep. Most of it is fairly flat, but you will struggle through hills if don’t know how to efficiently go up.
- Check the weather. It won’t be a pleasant trip if you’re soaking wet and cold in rain. Luckily, we had cool, yet sunny weather at the very end of March.
- Don’t underestimate it. I read on many sites those with average fitness levels would be able to do it with ease. I am probably above average, and I even do a spin class….this was completely different. It is definitely doable, but there was a lot of sweat and my legs were completely dead for 2-3 days after the ride.
- Enjoy it and take your time! The countryside is completely refreshing if you’ve been spending a lot of time in the big cities. There are many little shops to stop, rest, eat and take pictures.
Special thanks to Mike who suggested the trip, and Lee and Will for contributing to photos! ありがとうございます!!
